
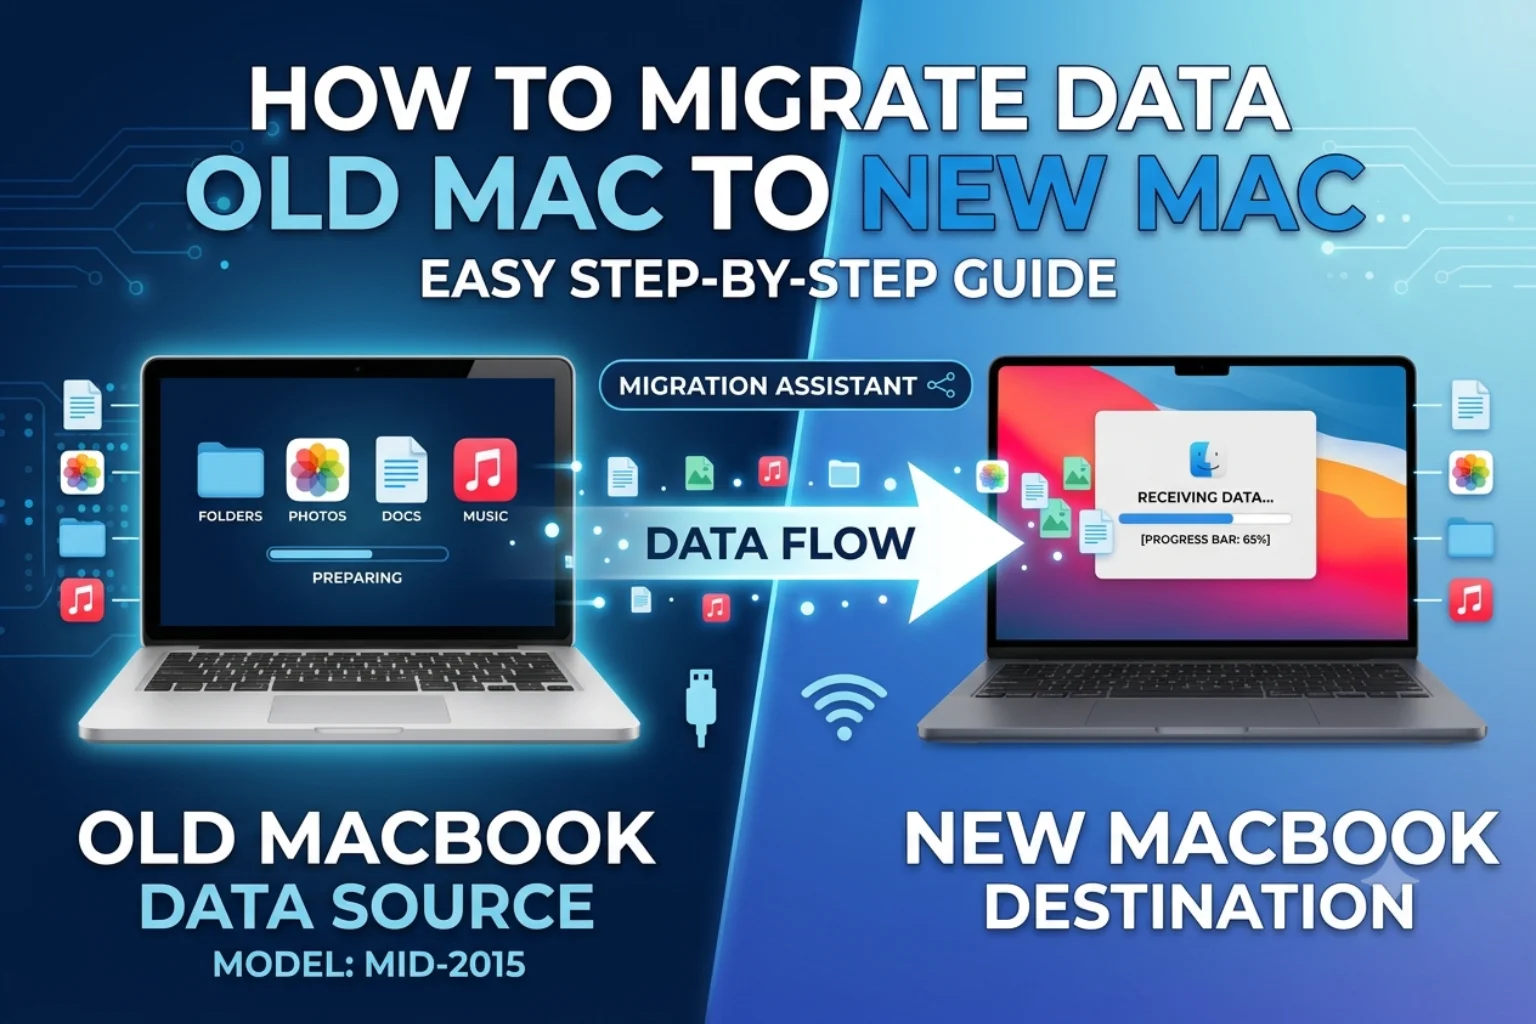
Transfer data to a new MacBook using Apple’s Migration Assistant is the easiest and safest way to move your files, apps, settings, and accounts. Getting a new MacBook is exciting, but transferring all your data from your old Mac can seem overwhelming. Fortunately, Apple makes the process simple with Migration Assistant, allowing you to move almost everything without losing your important data.
In this guide, we’ll explain every method to migrate your data safely and efficiently, along with tips to avoid common mistakes.
What Can Be Transferred?
Migration Assistant can transfer:
- User accounts
- Documents, photos, videos, and music
- Applications
- System settings
- Network preferences
- Mail accounts
- Messages
- Safari bookmarks and passwords
- Desktop files
- Downloads folder
- Wallpapers and preferences
Note: Some applications may require you to sign in again after migration.
Before You Begin
Before starting the migration process:
- Update both Macs to the latest version of macOS available for each device.
- Charge both MacBooks or connect them to power.
- Back up your old Mac using Time Machine.
- Ensure both Macs have enough available storage.
- Disable VPN software if installed.
- Keep both devices awake during the migration.
If your Mac has startup issues before migration, read our How to Fix or Restore a Mac That Won’t Boot guide.
Method 1: Transfer Using Migration Assistant (Recommended)
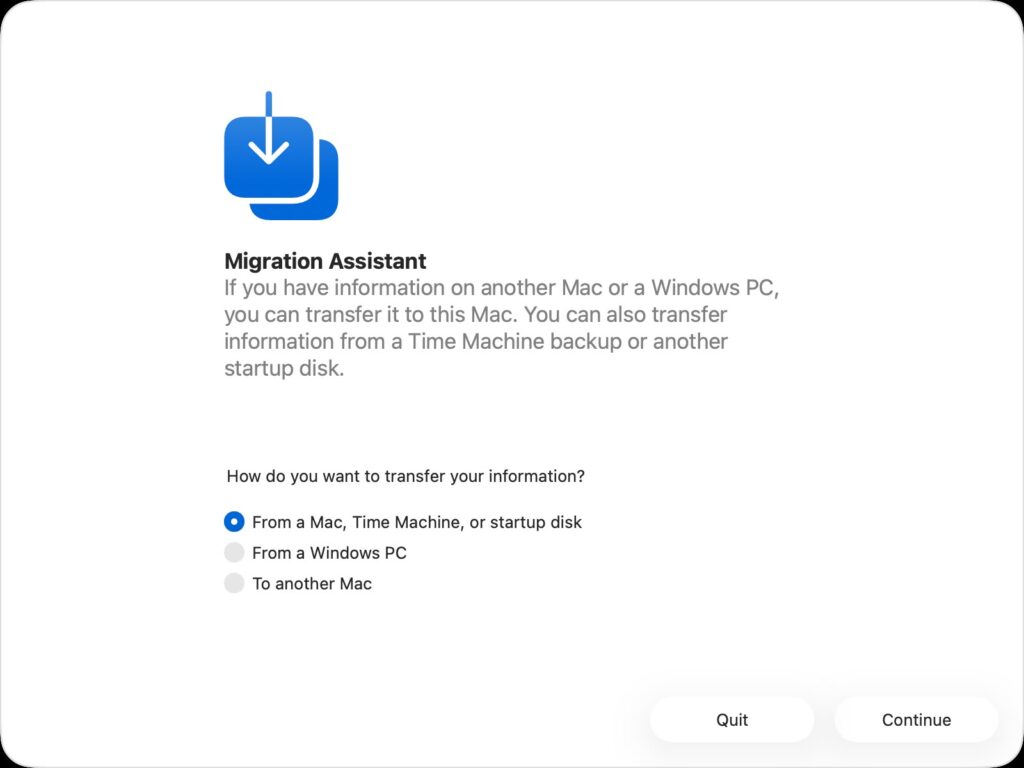
This is Apple’s official and easiest method.
Step 1: Prepare Both Macs
Turn on both MacBooks and complete the initial setup on your new Mac if required.
Connect both Macs to the same Wi-Fi network or, for faster transfers, connect them using:
- Thunderbolt cable
- USB-C cable
- Thunderbolt Bridge
- Ethernet adapter
A wired connection is significantly faster than Wi-Fi.
Step 2: Open Migration Assistant
On both Macs:
- Open Applications.
- Go to Utilities.
- Open Migration Assistant.
- Enter your administrator password if prompted.
Step 3: Choose Transfer Direction
On the New Mac
Select:
From a Mac, Time Machine Backup, or Startup Disk
Click Continue.
On the Old Mac
Select:
To Another Mac
Click Continue.
Step 4: Pair Both Macs
The new Mac will search for nearby Macs.
Select your old Mac from the list.
A security code will appear on both screens.
Verify that both codes match and click Continue.
Step 5: Select What to Transfer
Choose the data you want:
- User accounts
- Applications
- Documents
- Computer settings
- System files
You can migrate everything or only selected items.
Step 6: Start Migration
Click Continue.
Depending on your data size, migration may take:
- 20–30 minutes (small data)
- 1–3 hours (average users)
- Several hours (large photo/video libraries)
Avoid closing the lid or disconnecting either Mac.
Step 7: Finish Setup
Once completed:
- Restart the new Mac if prompted.
- Log in using your transferred account.
- Verify your files.
- Open important apps to ensure everything works correctly.
Method 2: Transfer Using a Time Machine Backup
If your old Mac is unavailable:
- Connect your Time Machine drive.
- During setup on the new Mac, choose:
Transfer from a Mac, Time Machine Backup, or Startup Disk - Select your backup.
- Choose the data you want.
- Start migration.
Method 3: Transfer Using an External Drive
You can manually copy files.
Copy:
- Documents
- Pictures
- Movies
- Music
- Downloads
- Desktop
Then reconnect the drive to your new Mac and copy everything back.
This method does not transfer settings or applications.
Method 4: Transfer Using iCloud
If you use iCloud:
Simply sign in with the same Apple Account.
Your synced data will automatically appear, including:
- Photos
- Contacts
- Calendars
- Notes
- Safari bookmarks
- iCloud Drive files
- Passwords
- Reminders
How Long Does Migration Take?
Approximate transfer times:
| Data Size | Wi-Fi | Cable |
| 50 GB | 20–40 min | 10–20 min |
| 200 GB | 1–2 hrs | 30–60 min |
| 500 GB | 3–5 hrs | 1–2 hrs |
| 1 TB | 6–10 hrs | 2–4 hrs |
Actual times vary depending on storage speed and connection quality.
Common Problems and Solutions
Migration Assistant Cannot Find the Other Mac
- Ensure both Macs are connected to the same Wi-Fi network.
- Restart both devices.
- Disable VPN software.
- Try using a Thunderbolt or USB-C cable.
If your Intel Mac continues to have startup-related issues, try Resetting PRAM/NVRAM and SMC before attempting migration again.
Migration Is Taking Too Long
- Use a wired connection instead of Wi-Fi.
- Keep both Macs connected to power.
- Close unnecessary applications on the old Mac.
Not Enough Storage
Free up space on the new Mac before starting the migration, or transfer only essential files.
Some Apps Don’t Open
Certain applications may need:
- Reinstallation
- Software updates
- New activation or sign-in
This is normal for licensed software.
Tips for a Faster Migration
- Use Thunderbolt or USB-C whenever possible.
- Update macOS before migrating.
- Back up your old Mac first.
- Keep both Macs plugged into power.
- Don’t interrupt the transfer.
- Verify all important files after migration.
Frequently Asked Questions
Will my passwords transfer?
Yes. Passwords stored in iCloud Keychain or your user account are usually transferred.
Will Microsoft Office transfer?
In most cases, yes. You may need to sign in again with your Microsoft account.
Can I use my Mac during migration?
It’s best not to. Let the process complete without interruption.
Will my photos and videos transfer?
Yes. Your Photos library can be migrated, including albums and edits.
Can I migrate later if I skipped it during setup?
Yes. Open Migration Assistant at any time from Applications > Utilities and follow the same process.
Final Thoughts
Migration Assistant is the easiest and most reliable way to move from an old MacBook to a new one. Whether you’re upgrading to the latest MacBook Air or MacBook Pro, following the steps above ensures your files, applications, settings, and accounts are transferred safely with minimal effort.
If you encounter any issues during the migration process or prefer professional assistance, the certified technicians at MacLife can help ensure your data is transferred securely and your new Mac is ready to use without the risk of data loss.